Ionic range is used to choose and display the level of something. It will represent the actual value in co-relation to maximal and minimal value. Ionic offers a simple way of working with Range.
Using Range
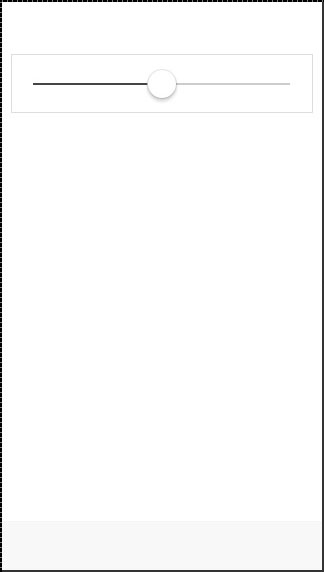
Range is used as an inside item element. The class that is used is range. We will place this class after the item class. This will prepare a container where the range will be placed. After creating a container, we need to add input and assign the range type to it and the name attribute as well.
<div class = "item range">
   <input type = "range" name = "range1">
</div>
The above code will produce the following screen −

Adding Icons
Range will usually require icons to display the data clearly. We just need to add icons before and after the range input to place them on both sides of the range element.
<div class = "item range">
   <i class = "icon ion-volume-low"></i>
   <input type = "range" name = "volume">
   <i class = "icon ion-volume-high"></i>
</div>
The above code will produce the following screen −
Styling Range
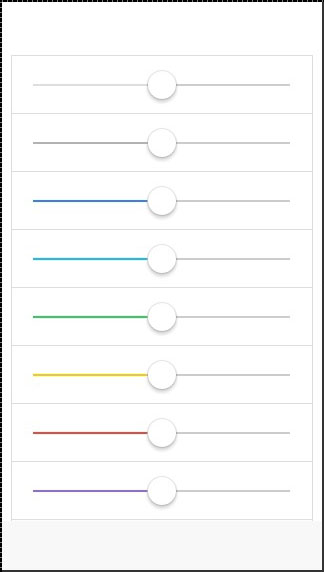
Our next example will show you how to style Range with Ionic colors. The color classes will use a range prefix. We will create a list with nine ranges and style it differently.
<div class = "list">
   <div class = "item range range-light">
      <input type = "range" name = "volume">
   </div>

   <div class = "item range range-stable">
      <input type = "range" name = "volume">
   </div>

   <div class = "item range range-positive">
      <input type = "range" name = "volume">
   </div>

   <div class = "item range range-calm">
      <input type = "range" name = "volume">
   </div>

   <div class = "item range range-balanced">
      <input type = "range" name = "volume">
   </div>

   <div class = "item range range-energized">
      <input type = "range" name = "volume">
   </div>

   <div class = "item range range-assertive">
      <input type = "range" name = "volume">
   </div>

   <div class = "item range range-royal">
      <input type = "range" name = "volume">
   </div>

   <div class = "item range range-dark">
      <input type = "range" name = "volume">
   </div>
</div>
The above code will produce the following screen −


Tidak ada komentar:
Posting Komentar