

This is the Ionic directive, which will add the header bar.
Using JavaScript Header
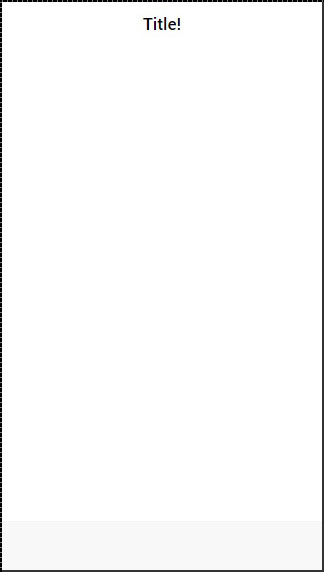
To create a JavaScript header bar, we need to apply the ion-header-bardirective in the HTML file. Since the default header is white, we will add title, so it will be showed on white background. We will add it to our index.htmlfile.
<ion-header-bar>
   <h1 class = "title">Title!</h1>
</ion-header-bar>
The above code will produce the following screen −
Styling Header
Just like the CSS Header Bar, the JavaScript counterpart can be styled in a similar fashion. To apply color, we need to add a color class with a bar prefix. Therefore, if we want to use a blue header, we will add a bar-positive class. We can also move the title to one side of the screen by adding the align-titleattribute. The values for this attribute can be center, left or right.
<ion-header-bar align-title = "left" class = "bar-positive">
   <h1 class = "title">Title!</h1>
</ion-header-bar>
The above code will produce the following screen −

Adding Elements
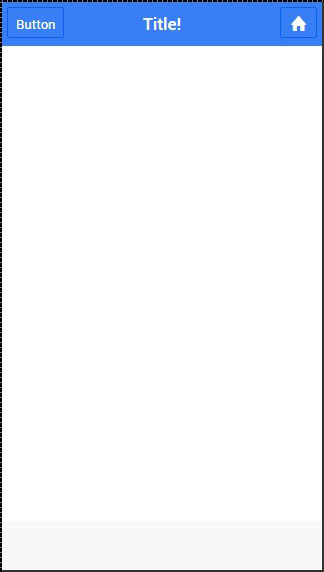
You will usually want to add some elements to your header. The following example shows how to place a button on the left side and an icon to the right side of the ion-header-bar. You can also add other elements to your header.
<ion-header-bar class = "bar-positive">
   <div class = "buttons">
      <button class = "button">Button</button>
   </div>

   <h1 class = "title">Title!</h1>
   <div class = "buttons">
      <button class = "button icon ion-home"></button>
   </div>
</ion-header-bar>
The above code will produce the following screen −
Adding Sub Header
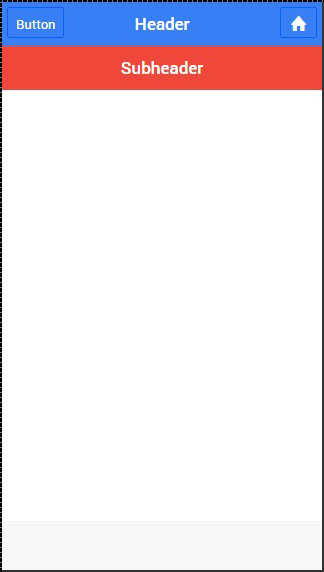
A Sub header is created when a bar-subheader class is added to the ion-header-bar. We will add a bar-assertive class to apply red color to our sub header.
<ion-header-bar class = "bar-positive">
   <div class = "buttons">
      <button class = "button">Button</button>
   </div>

   <h1 class = "title">Title!</h1>
   <div class = "buttons">
      <button class = "button icon ion-home"></button>
   </div>
</ion-header-bar>

<ion-header-bar class = "bar-subheader bar-assertive">
   <h1 class = "title">Subheader</h1>
</ion-header-bar>
The above code will produce the following screen −
Tidak ada komentar:
Posting Komentar