

The Ionic header bar is located on top of the screen. It can contain title, icons, buttons or some other elements on top of it. There are predefined classes of headers that you can use. You can check all of it in this tutorial.
Adding Header
The main class for all the bars you might use in your app is bar. This class will always be applied to all the bars in your app. All bar subclasses will use the prefix – bar.
If you want to create a header, you need to add bar-header after your main bar class. Open your www/index.html file and add the header class inside your body tag. We are adding a header to the index.html body because we want it to be available on every screen in the app.
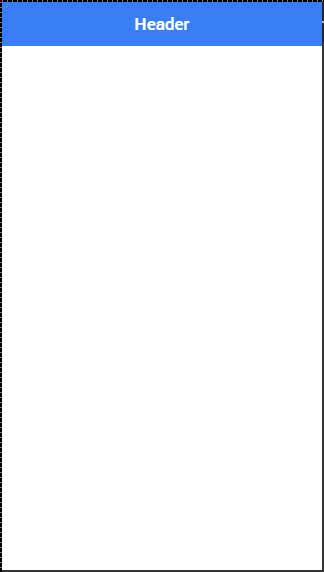
Since bar-header class has default (white) styling applied, we will add the title on top of it, so you can differentiate it from the rest of your screen.
<div class = "bar bar-header">
   <h1 class = "title">Header</h1>
</div>
The above code will produce the following screen −

Header Colors
If you want to style your header, you just need to add the appropriate color class to it. When you style your elements, you need to add your main element class as prefix to your color class. Since we are styling the header bar, the prefix class will be bar and the color class that we want to use in this example is positive (blue).
<div class = "bar bar-header bar-positive">
   <h1 class = "title">Header</h1>
</div>
The above code will produce the following screen −
You can use any of the following nine classes to give a color of your choice to your app header −
| Color Class | Description | Result |
|---|---|---|
| bar-light | To be used for white color | |
| bar-stable | To be used for light grey color | |
| bar-positive | To be used for blue color | |
| bar-calm | To be used for light blue color | |
| bar-balanced | To be used for green color | |
| bar-energized | To be used for yellow color | |
| bar-assertive | To be used for red color | |
| bar-royal | To be used for violet color | |
| bar-dark | To be used for black color |
Header Elements
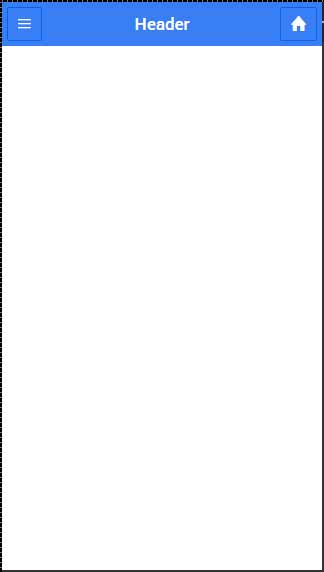
We can add other elements inside the header. The following code is an example to add a menu button and a home button inside a header. We will also add icons on top of our header buttons.
<div class = "bar bar-header bar-positive">
   <button class = "button icon ion-navicon"></button>
   <h1 class = "title">Header Buttons</h1>
   <button class = "button icon ion-home"></button>
</div>
The above code will produce the following screen −
Sub Header
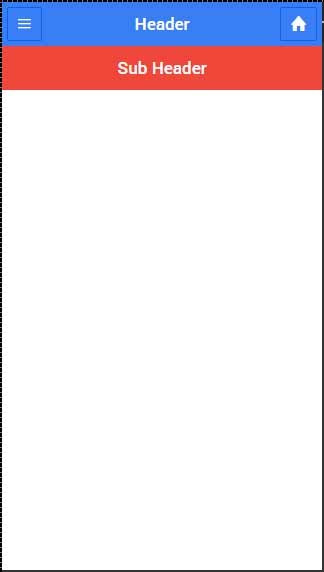
You can create a sub header that will be located just below the header bar. The following example will show how to add a header and a sub header to your app. Here, we have styled the sub header with an "assertive" (red) color class.
<div class = "bar bar-header bar-positive">
   <button class = "button icon ion-navicon"></button>
   <h1 class = "title">Header Buttons</h1>
   <button class = "button icon ion-home"></button>
</div>

<div class = "bar bar-subheader bar-assertive">
   <h2 class = "title">Sub Header</h2>
</div>
The above code will produce the following screen −
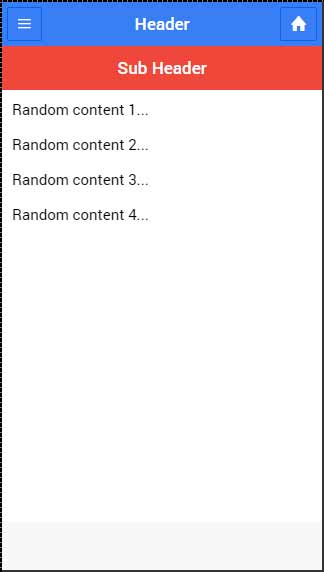
When your route is changed to any of the app screens, you will notice that the header and the sub header are covering some content as shown in the screenshot below.
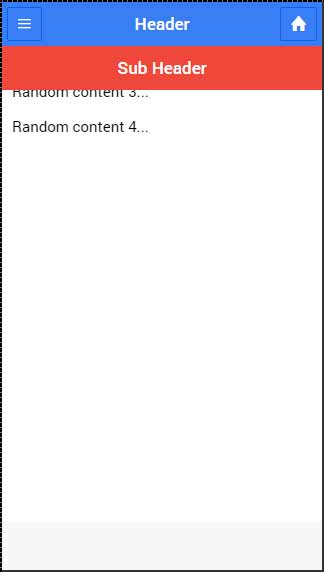
To fix this you need to add a ‘has-header’ or a ‘has-subheader’ class to the ion-content tags of your screens. Open one of your HTML files from www/templates and add the has-subheader class to the ion-content. If you only use header in your app, you will need to add the has-header class instead.
<ion-content class = "padding has-subheader">
The above code will produce the following screen −
Tidak ada komentar:
Posting Komentar